ExpressCheck Installation Guide - Clover
Version 2.1 – August 1, 2026
1 Prerequisites
The following are the prerequisites for installing ExpressCheck:
- Active Clover POS system with admin access to the Clover Dashboard
- Internet connection on all Clover Android-based terminals
- ExpressCheck credentials provided by CityCheers Support
The following section describes the required configuration that must be made in the Clover Dashboard prior
to installation.
2 POS Configuration – Pre Installation
The following section describes the required changes in Clover Dashboard prior to installation:
2.1 Login to Clover
Log in to the Clover Dashboard at https://www.clover.com/login.
2.2 Send your Clover ID to CityCheers
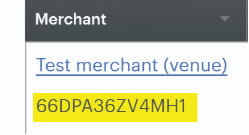
Obtain and send the Clover ID for your location to support@citycheers.net, along with the name and address for your venue location. You can find this value under “Settings” → “View all Settings” → in “About your Business” section, choose “Merchants”. The Clover ID is shown under the name of your location listed in the Merchant box. If you have more than one location listed, send the Clover ID for the location you are activating:
2.3 Create Tender Type for Payment
Go to “Settings” → “Payment Preferences” → “Tenders” section, click “Edit”. Then, click on “Create Custom Tender” and enter “ExpressCheck” into the “Custom tender name” box and then click “Save”.
2.4 Create Category for ExpressCheck Item (Optional)
If you wan to keep the ExpresCheck fee separate in the reporting, then create a category for it. From the left menu, chose “Items” → “Categories”, then choose “+ Add category”. Enter “ExpressCheck” for the “Category Name” and choose and unused “Category color”. Click “Save”.
2.5 Create Item for ExpressCheck Reward Club Fee
From the left menu, choose “Items” → “Item List”.
- Click the “+” button to add an item.
- Enter “Expck Reward Club Fee” into the “Name” box, and leave the price at “$0.00”, and click "Next".
- On the next screen:
- Change the “Price Type” to “Variable”.
- Select an unused “Item color”.
- Switch the “Online ordering” to the left (off).
- Under “Taxes and Fees”, select “+ Assign taxes and fees”, then choose “None” and then “Save”.
- (Optional) Under “Caregories”, select “+ Assign categories” and then select the “ExpressCheck” category made in 2.4
above, then “Save”. - Leave all of the remaining settings as defaults.
- Click “Save”
2.6 Create “Dual Pricing” Service Charge (Optional)
If you are using “Dual Pricing” for Credit Card transactions, setup an Additional Charge.
- Go to “Settings” → “View All Settings”, in “Business operations” section, choose “Additional Charges”.
- Choose “+ Add Service Charge”, then enter “Dual Price” for “Name” and the chosen percent value in “Percent”, and click “Save”.
- If the “Enable service charges” is set to “Off”, then click “edit” and then check the “Enable service charge” check box, and click “Save”.
2.7 Add the CityCheers App
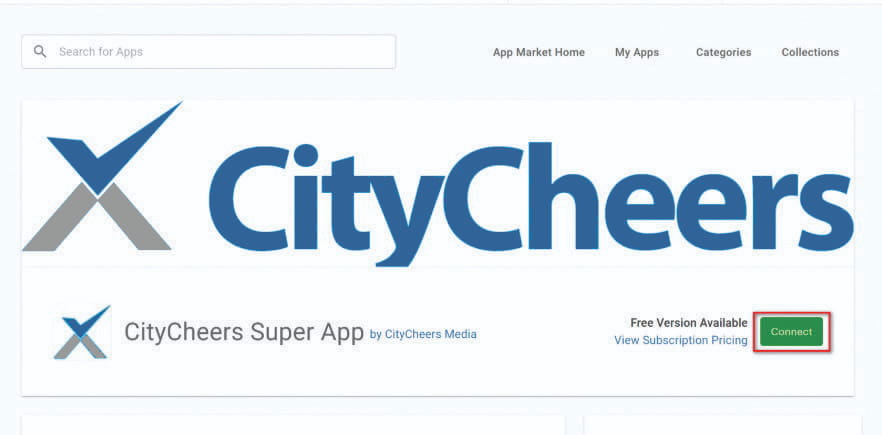
Once you have received confirmation from CityCheers that your Clover ID has been received and configured for ExpressCheck, then add: “CityCheers Super App”. You can add this by going to “Apps”, then “App Market” and search for “CityCheers”. Then, select the “CityCheers Super App”, and click “Connect”.